The Veeam company has just started testing its new, completely free tool, which is Veeam Agent for Linux (currently in beta). Who previously registered to the testing program can today download the solution and check its functionality. The basic question is, who will benefit from this tool? All those who use public clouds and running there own servers, very quickly collide with the basic problem which is the lack of backup. Often, this option is available (additional fee), which, however, usually comes down to the snapshoting of the virtual machine. There is no possibility to regular backups and sending them to own DC, and if this possibility exists it is a very expensive option. Veeam comes up against this problem by providing an agent, which in the future will be fully integrated with Veeam Backup & Recovery. This agent will be installed locally on the machine and will perform a full file backup (this is not a traditional snapshot of the entire virtual machine) via the network (eg.VPN).
Before we check the full version, take a look at what we can do with development version. Installation described below is based on a system CentOS7, but before we begin, we need to install the required packages, kernel sources and DKMS package. In addition, we must remember that the backup is performed only with LVM volumes. However, he does not use the snapshot mechanism built into LVM, Veeam provides its own mechanism (much more efficient). The requirement to use LVM is a certain restriction, most Cloud vendors does not allow its use in prepared VPS servers. However, wherever we can install yourself, we will be able to use the Veaam Linux Agent without any problem.
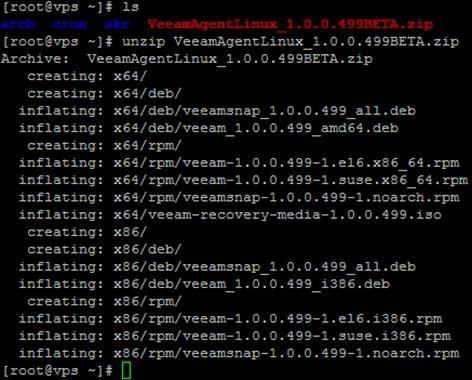
The content of the archive is a de facto two files, veeam and veeamsnap in versions for most popular systems.
First install veeamsnap, the package checks the required dependencies.
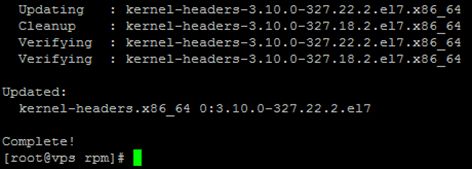
Here, as you can see I had to install an additional package kernel-headers.
After fulfilling all depending rpms veeamsnap installs without problem.
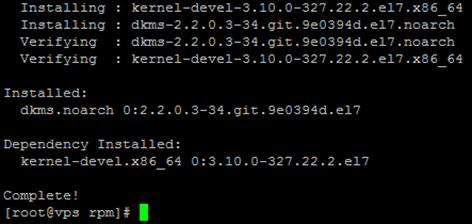
In the next step, we install veeam, as you can see he has his dependence to meet.
After a while we finish the correct installation of the whole, as seen in the picture there will be an additional service name veeamservice.
To proceed with the backup, run veeam command. It operates in two modes, graphical and batch from the command line. In applications in which Veeam Linux Agent will be used, graphics mode is nice but is the only a addition. In most cases will be run in batch and we focus here on such a configuration. Backup will be executed on the remote volume mounted on NFS from NAS.
Of course, we must first create the appropriate repository (in the future at this point it will be possible to connect to the Veeam Backup & Recovery).
Create a new task, set here the maximum number of points to restore. Root is the name of the logical LVM volume mounted as / (veeamconfig create job).
We run the backup job (veeamconfig job start).
A copy goes in the background to display a list of active sessions and details use the command veeamconfig session list.
To list the current backups using the command veeamconfig backup list.
What would be copy without a possibility of its restoration? But remember that this is not comparable with a copy of the entire machine, we are talking here about backup file and the possibility of its restoration by mounting it in the selected folder (and access to the necessary files).
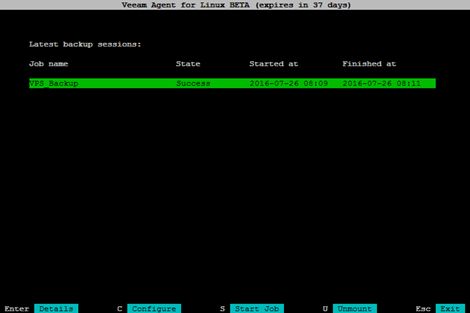
And at the end view of “graphical” interface from which we can carry out all of the above operations.
I think Veeam Linux Agent is a very interesting direction, the possibility of making the file backup in machines running in the public cloud is useful to many businesses. I also think that a very interesting opportunity will give completely “virtual” backups within the public cloud. Imagine a situation where the contents of virtual machines is discharged through Veeam Backup & Recovery on a virtual version of the EMC Data Domain!


