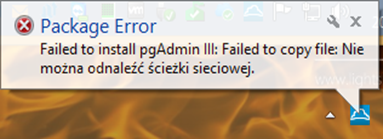
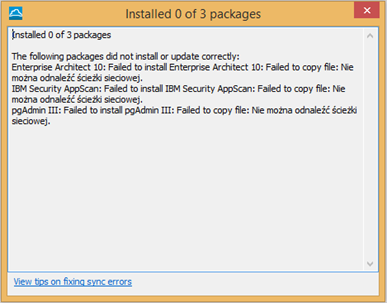
An absolute novelty that appeared in the Horizon Workspace 1.8 is the ability to use ThinApp application on computers that are not members of an Active Directory domain. This means, that you can connect from the Internet, from any computer to our Workspace website and run ThinApp. With little restriction, in this version, you can run only “full” applications, there is no the possibility of streaming applications over the Internet. It is also necessary to install an client of VMware Horizon Workspace (ThinApp applications need to act HorizonPlugin.dll). After a quick install we can collide with the following error (Failed to copy file: The network path was not found):
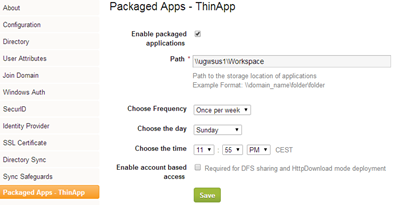
This is due to the fact that the default installation of Horizon Workspace 1.8.1 does not have enabled the option “Enable account based access“. To enable it, we need to log in to configurator-va and go to the Packaged Apps – ThinApp:
The account used to access the application must be a domain account with permission to read the contents of the UNC path with the applications.
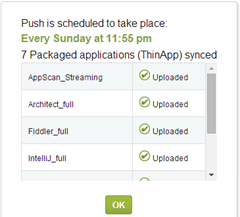
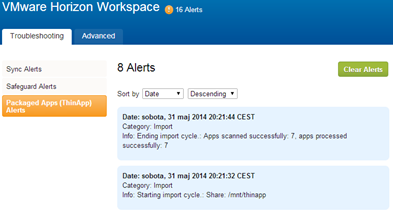
In the next step, we carry out synchronization ThinApp applications and check alerts if everything is ok (we should see a new path /mnt/ThinApp).
At this stage, everything is prepared and working properly. We can go back to the Horizon Workspace client (our quick installation we withdraw). Following the documentation, you must install the client from the command line with the parameter set INSTALL_MODE = HTTP_DOWNLOAD.
If you plan to use 64-bit applications (which support appeared only in version 1.8), we need to perform some additional steps . After installing the Workspace client, HorizonPlugin.dll need to be moved from the directory c:\windows to the directory c:\windows\SysWOW64 and then download the 64-bit dll version from the connector-va (/opt/vmware/thinapp-plugin-x64) and upload to c:\windows\system32 (a bit strange but true).
Was this information is helpful? Tell me, please leave a comment!


