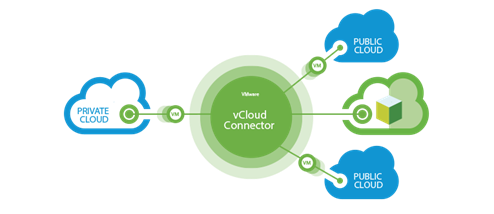
The answer to this question is simple and at the same time is not so. The only option is to use an vCloud Connector (I know that in the development is his (and vCloud Air Plugin for Web Client) successor, but it appears to the public until the end of the year). Fortunately, vCloud Connector does not require a license, is available for free. With such a configuration, will be used two Nodes, one installed by us and the second by VMware (run in multisite mode) within their vCloud Air environment.
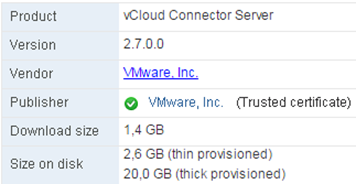
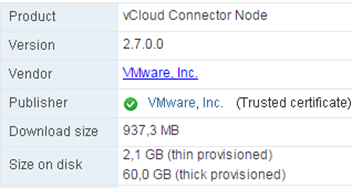
From VMware site download vCloud Connector Server and Node (version 2.7). After downloading install (deploy) both, this is standard procedure and does not require detailed steps.
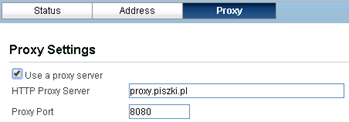
Locally installed node will manage communication with our vCenter. The rule is that for each environment we want to connect to (whether it is vCenter or vCloud Director) install a separate node. After node starting, log on to the management console https: // IP: 5480 (admin / vmware) and proceed to the configuration . First, set the correct time zone and proxy parameters (if we do not have direct access to the Internet).
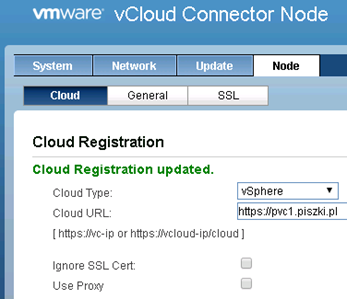
Then we have to decide can we use SSL in the internal communication (if you have your own CA, we can generate the certificate for node), section “Node-> SSL-> Enable”. If you use a self signed certificates, option “Ignore SSL Cert” should be enabled (unless generally did not include an encrypted communication). Registering node in vCenter at this stage does not require a login and password:
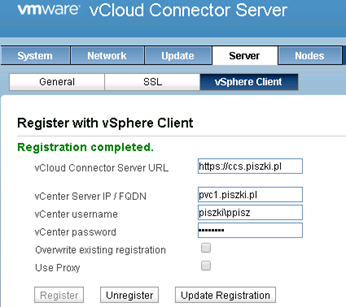
After configuring node, proceed to the server configuration. In begining set the correct time zone and access to the proxy. In the SSL section generate and install a new SSL certificate (if we decided to encrypted communication). Here is an additional hook, in addition to carrying out the entire procedure from the administration panel, we have add CA certificate to the global Java keystore (otherwise collide with the message “vCloud Connector server does not have a trusted SSL certificate. Please install a trusted certificate or disable SSL. “). In the “Server-> vSphere Client” integrate with vCenter by registering vCloud Connector plug-in (thick) in vSphere client.
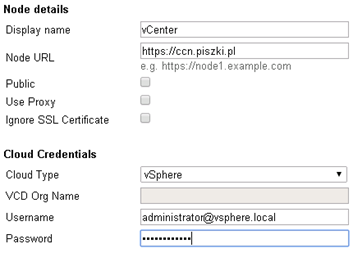
Now, go to the Nodes and proceed to the registration of our nodes that connecting us with the VMware vCenter and connecting us with vCloud Air. Click “Register Node” and enter the parameters of our local node:
Now we need to look to the VMware documentation to determine where we connect. In the first part we choose our Data Center to connect to it, now we have to select the correct multisite node address.
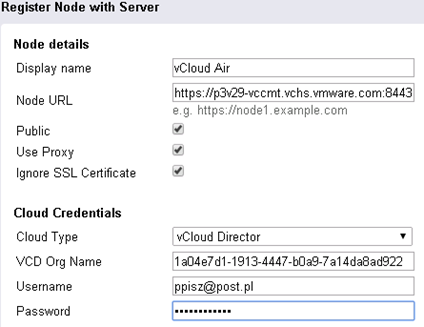
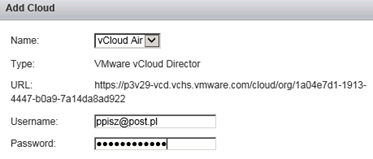
Registration parameters are as such (in the absence of Internet access switch on proxy):
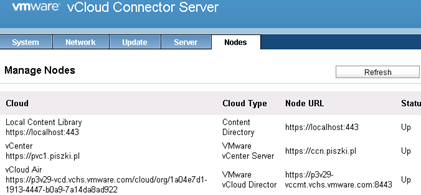
As you can see, we connect to the our vDC in vCloud Director. We need to provide the name of our organization and the login and password which we use in vCloud Air. This means that if we conduct our tests in all three DC and want to connect to them, we have to register separately each of these vDC. Finally, the configuration is as so:
Before we get into vSphere, one note. The copying process takes place in several stages, virtual machine is taken from the vCenter and copy inside to local node, they send vm to the remote node and at the end, it is pushed to catalog in our vDC. This means that we have to secure adequate space on local node. The procedure is not complicated, just off the machine, increase the amount of space on the second disk from 40GB to 100GB (example), run vm and in machine console issue command:
Both machines, vCloud Connector Server and Node are preconfigured with 4GB RAM, this quantity can be safely reduced to 2-1GB of RAM. If you have any problems with communication between nodes, set the option “Ignore SSL” wherever you can. It’s time to go to our vCloud Connector:
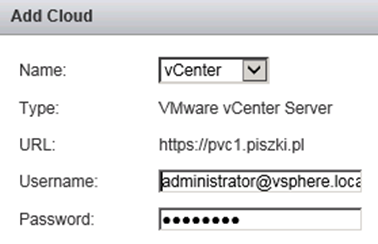
In the Cloud section add your clouds:
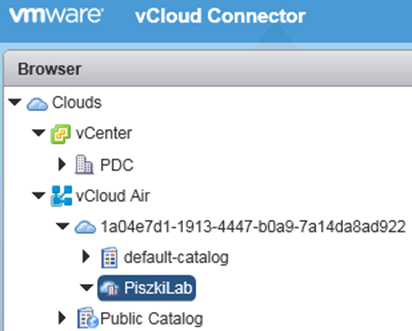
At this stage, we can view the content of vCloud Air:
After this very long introduction, we can finally begin to send our own VM to vCloud Air.
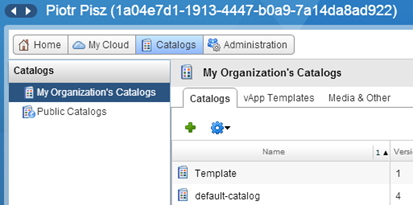
But before that we do, we must first go back to the vCloud Air (vCloud Director), and create our own catalog (here called Template), of course we can also use the default-catalog.
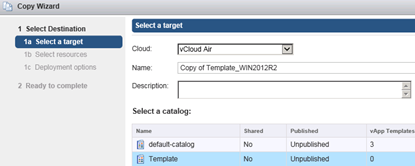
The sended machine must be turned off (it can be a template). Find it in the path, select “Copy”, then the target Cloud, our catalog, destination vDC and other parameters (eg we can immediately deploy the machine in the indicated vDC). At the end we click “Validate” and then click “Finish”.
The whole process can be observed in the vSphere Client (Exporting and copying machine), it takes quite a long time. You can buy fast transfer services from the vCloud Air and set it up at vCloud Node but that is an extra cost in relation to our voucher (this service is not cheap).
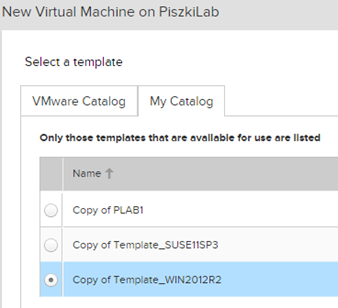
Once the process is complete, return to the vCloud Air and from the level of our catalog you can deploy the machine. We can also add vm from vApp level.
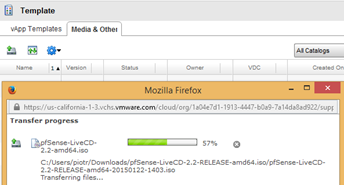
So far, I’ve written about sending machines to vCloud Air, but in the vCloud Director we can send ISO image, create machine and install system form ISO . Just go to your Catalog and in the section “Media & Others” choose Upload:
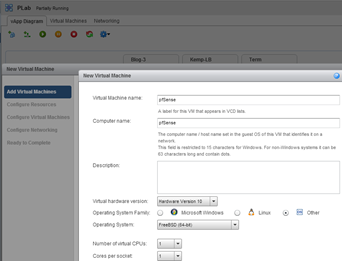
Then, from our vApp click on the add machine and generate a new machine in a similar way as in vCenter:
The IP address provide from a static pool (it works as DHCP reservations):
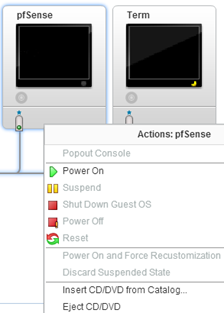
When the machine is created, connect ISO and begin the installation.
I hope I helped, if something was not clear that I offer my help (I know vCloud Director and the rest so I can use somewhere too big abbreviations).


