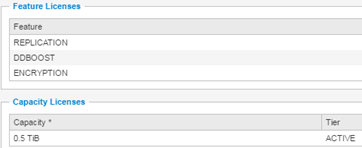
As I have not once wrote, EMC deserve great applause for the approach to the subject releasing their products in the community version. This allows us to get acquainted with a number of solutions, including the latest one, which is Data Domain Virtual Edition. If you do not know what it is, I hasten to explain. It is a device that can function as a NAS or as a software tape library (VTL) and used as a backup repository (generally). Thanks to incredibly efficient deduplication algorithms, in a relatively small space we are able to cram a huge amount of data. Add to that the replication between devices, and several other useful features and you have a really interesting solution supported by most backup solutions (eg. EMC Avamar, Veeam Backup). In this year was released virtual version of Data Domain, which is distributed as a OVA file and includes a community license. This license allows the use of space 0.5T RAW (after deduplication safely accommodate 3T or more standard data), replication, encryption, and DD Boost ( support for external solutions).
It also means that in addition to testing Data Domain VE as such, we can in our home lab create a professional place to store backups (ask yourself: is your NAS support deduplication?). Data Domain VE installation is very simple, from the vSphere Web Client load the OVA file to our environment. During this operation, we have to decide what size of appliance choose (if we use community license choose the first option).
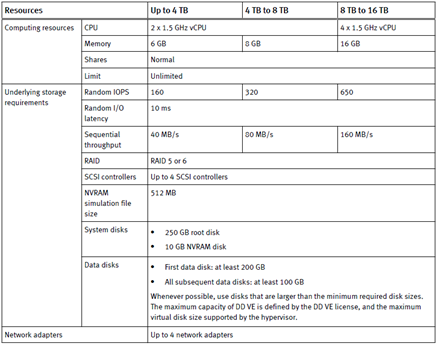
If you have purchased a license to the DD VE, you must select the proper configuration (look at the table):
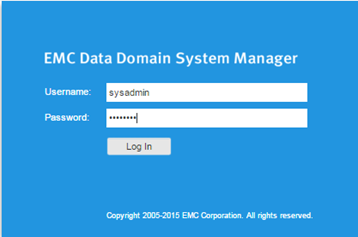
It is required also to have DHCP server from which will be initialised network configuration (you can change this later from the management interface). Before the first VM power on, add an additional disk for data (500GB) and enable time synchronization with the host. Launch and wait a few minutes, and log on to https: //DDVE_IP (login as sysadmin and password is changeme).
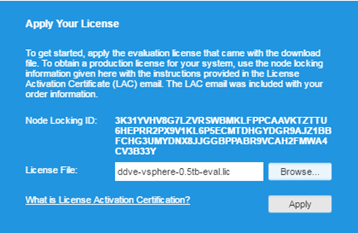
Load license file (community version is contained in the archive of DD VE).
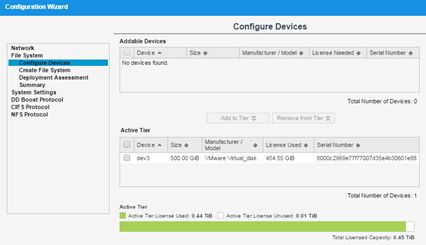
When you first log in the configuration wizard starts, with its level we can change the network settings and add new disk data (and many others).
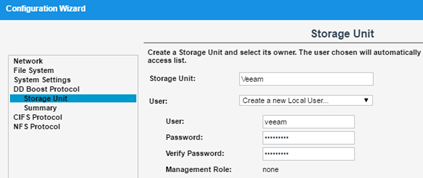
In the system options can change the sysadmin user’s password, set email alerts, etc.. Another important option is the Storage Unit, here we create file space and user for the DD Boost protocol by which solutions such as Veeam Backup will be able to communicate with the Data Domain (give the name of the share and user).
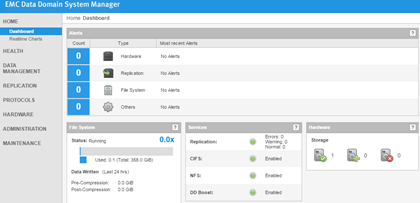
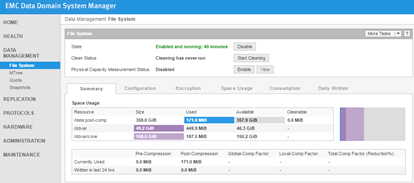
In the last step we can create a CIFS or NFS share. At this stage, Data Domain VE is working properly and fully functional. The menu is very clear, we can check and possibly rearrange what interests us. General view of DD VE:
File system occupancy:
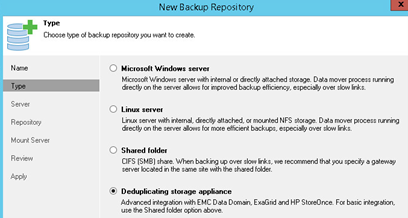
Now, the example of Veeam Backup (which is available here) will show you how to configure the Data Domain as repository and perform a backup of virtual machines. We start by configuring a new repository, choose “Deduplicating storage appliance”.
Select EMC Data Domain.
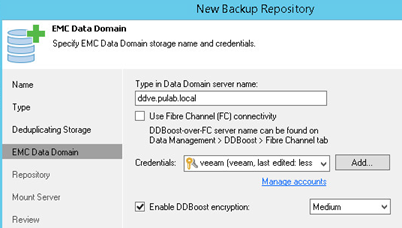
We serve the parameters of our Data Domain Virtual Edition and permissions (user Veeam which assumed earlier).
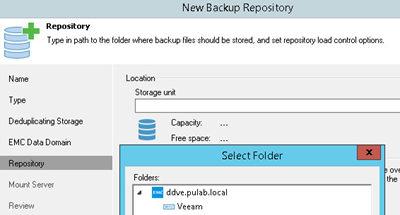
Select repository (created earlier in DD VE).
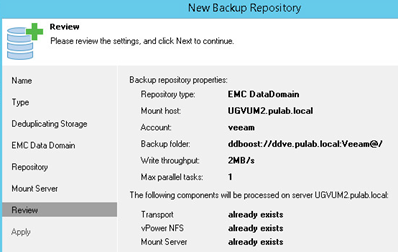
Summary.
And everything ready.
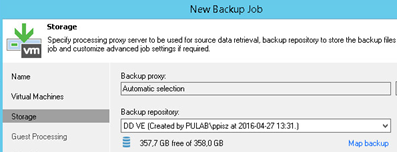
Next we create a new backup task, choose our new DD VE repository.
Start the backup, as we see on DD VE interface the connection is established.
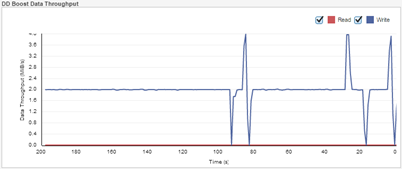
Data correctly fly to Data Domain Virtual Edition (flow limited on the side of Veeam Backup to 2 Mb/s).
A backup has been completed, deduplication ratio amounted to 2.4 (for a single Windows Server 2012R2 machine). What’s next? Next, we can start the second instance of DD VE and practice replication between them. We can also install the Data Domain Management Center console that integrates the management of multiple DD. We can also simply enjoy efficient backup in our home lab.

