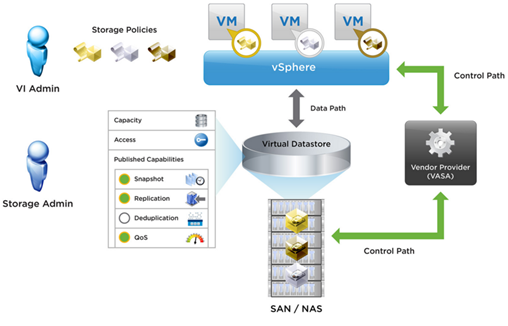
In the first part we installed and configured the EMC vVNX VVOL Technology Prewiew, now we will continue this process. At the beginning a few words about theories. VMware VVOL brings a lot of changes in the configuration of storage in a vSphere environment. Lun concept disappears and is introduced a new layer between the disk array and the vSphere. New logic that the premise is to simplify the whole management model. The Storage Administrator configures disk array container containing VVOL datastore with specific capabilities (thin, deduplication, etc.) and using Protocol Endpoint, connects the Storage Container with ESXi hosts. vSphere Administrator create Storage Policies through which composes proper “datastore”. The quotes are in place, VVOL is the implementation of the VMware Sofware Defined Storage concept where everything is defined by policies and where are disappearing rigid connections. It seems bizarre but I assure you that every Administrator very quickly in this find. Here you can read much more about VVOL benefits.
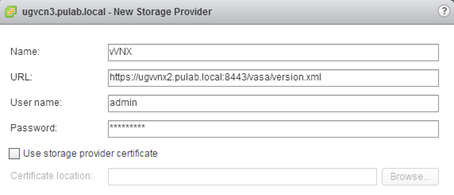
In this section we start by adding our vVNX as “Storage Provider” in vCenter. It is absolutely crucial step, without it we not move on (vCenter and vVNX communicate through VASA protocol in version 2.0). During the procedure of adding new provider generated is new SSL certificate by VMCA for him. Certificate is installed in the EMC vVNX for secure communications with vCenter. If you plan to add more than one vCenter to vVNX that we need to use an external Platform Service Controller (PSC VMCA), otherwise each time will wipe vVNX certificate. I am not sure whether it is a bug but for me to generate a new certificate only works when VMCA functions as root (PSC and vCenter have machine certificate generated in the Enterprise CA). Every time VMCA functioned as Intermediate, met with the message “Register new storage provider” operation failed for the entity with the Following error message. A problem was encountered while provisioning, and VMware Certificate Authority (VMCA) signed certificate for the provider “. We provide the following parameters:
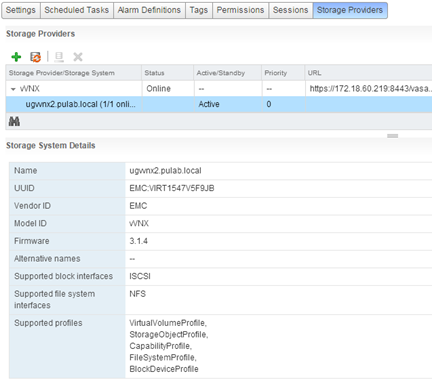
After a while VNX reported correctly and we check all the supported disk profiles.
We return to the vVNX interface, in section Block-> iSCSI Interfaces configure network (if not done already).
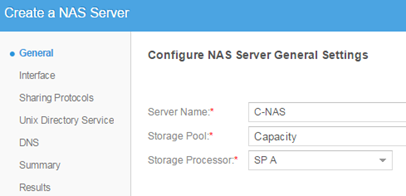
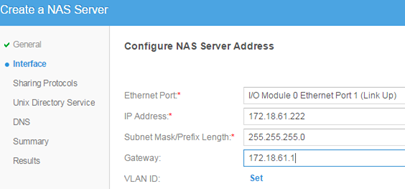
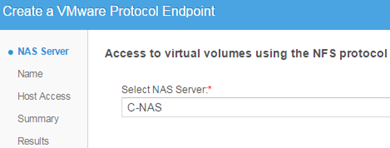
Then under File-> NAS Servers, configure our first server (a bit like configuration for EMC VNX File). NAS is really a new network interface through which vVNX will be served data to ESXi.
For each available pool we have to create a separate NAS.
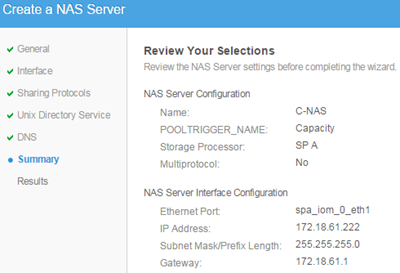
Final settings.
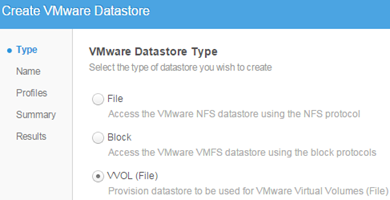
In the VMware-> Datastores create the first datastore (ie Blocking Storage Container). Select VVOL.
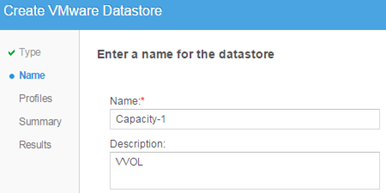
Name of the datastore.
Select capability profile.
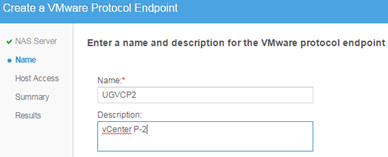
To communicate ESXi to Vvol took place correctly, we need to create Protocol Endpoint. PE is the point connecting the NAS server with specific ESXi.
Create separate protocol endpoint for each connected vCenter (but this is not a requirement, global PE is also ok).
We can choose specific ESXi. This is similar to creating Storage Group at EMC VNX.
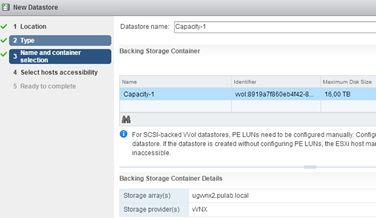
At this stage we return to the vCenter and create a new datastore (selecting VVOL). Enter a name and select the appropriate Datastore from the Blocking Storage Container.
Select the ESXi host or hosts.
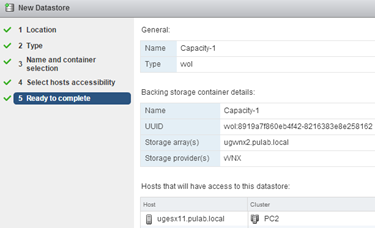
We are ready.
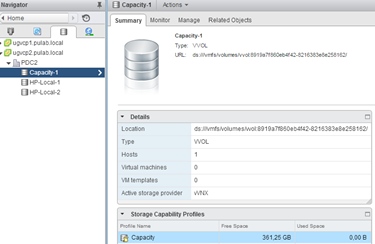
Our new VVOL Datastore.
Of course, during the first configuration as described here, we have to go many steps further. In normal operation will bring to the creation of new Datastore. EMC vVNX Vvol Technology Prewiew has a lot of licensing restrictions and no full VVOL implementation. There will no to test all VVOL functionality here, but if we want to get started with Vvol we can start from vVNX. In addition to a version that supports VVOL is also available a full, free version of vVNX (supporting VASA 1.0), its configuration is very similar to described here.






3 Comments
Leave a reply →