Some time ago I describe the installation ScaleIO in VMware vSphere, this time we install ScaleIO using virtual servers running CentOS 7. The great advantage of EMC ScaleIO is its enormous versatility and lack of critical requirements that would have to meet. To construct own storage resource with high efficiency do not have hours to analyze compatibility lists or wonder what we buy and how much it will cost. We can use what we have at hand. Any server (or workstation) with internal drives. They can of course also be a virtual machine, you may ask: why? EMC ScaleIO can be an excellent replacement for distributed file systems (open source) type GlusterFS. If you need a few Linux servers with a shared resource (eg. under Apache) that reside in two locations (and we do not have array-based replication) ScaleIO this is a good option.
We begin by preparing a minimum of three nodes with the CentOS 7 or compatible (in my case it is six, the more the better), the hardware requirements are small, 2xCPU and 2GB of RAM. Let us remember that ScaleIO works similarly to the classic RAID, the more nodes the greater data security and increased productivity. We requires access to the nodes via SSH (the rest is minimal install). We install the latest version of EMC ScaleIO 1.32.3 (same installation process is very simple and takes only a few minutes). In the first step on the first node copy the EMC ScaleIO Gateway (RPM) installation file , export variable GATEWAY_ADMIN_PASSWD indicating admin password and install rpm.
And all this when it comes to CMD, now open a web browser and enter the address https:\\gateway_ip. Log in as admin and the password that we set.
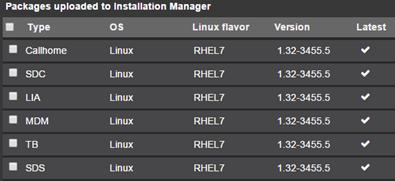
In the Packages load other RPM files.
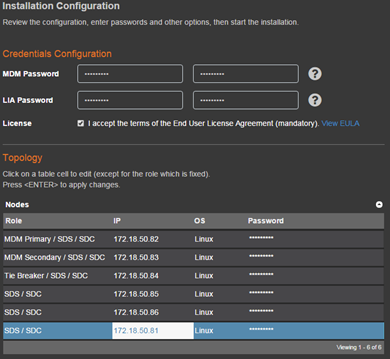
Here, you specify the parameters of our environment if we have only a few nodes, we can give the parameters directly on the screen. For larger quantities previously better prepare the appropriate CSV file containing all the necessary information (sample file is part of an installation archive). Plus we add more items, each of the management machines (MDM/R, MDM/S, TIE) is both SDS/SDC (no contraindications to Gatewa,y also functioned as SDS/SDC). What do they all mean?
About services wrote here, remember that MDM (Data Manager) is a metadata management service, working in a cluster of three nodes (Primary is the active Manager, Secondary is reserve Manager, TIE Breaker acts as a witness and to prevent situations of split brain). ScaleIO Data Server (SDS) manages capacity and access from the SDC (Data Client). In the case of ScaleIO we can quite freely manipulate the environment, despite the fact that all Nodes act as a data server to access individual volumens can grant any (one or more nodes). We start the installation, it consists of several steps before you run again, the former must end correctly.
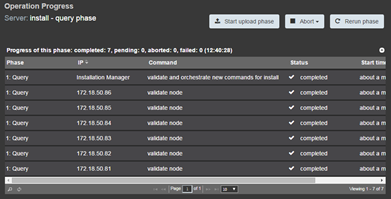
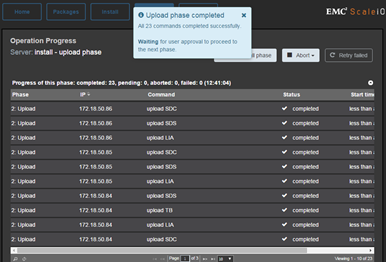
Phase load the installation files on the server completed successfully.
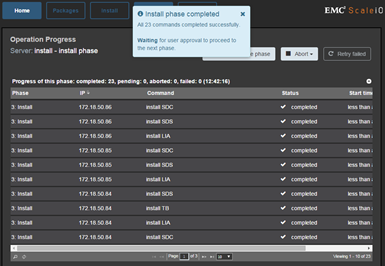
Phase of the installation is successful.
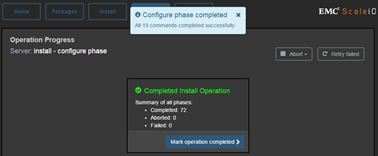
Installation complete.
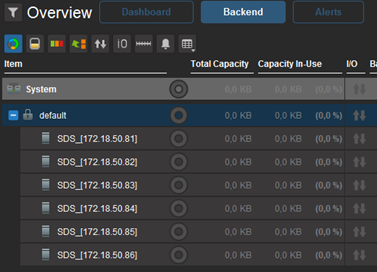
Next install GUI for Windows, log in to the Primary MDM. From the GUI we can generally watch what is happening in the whole environment.
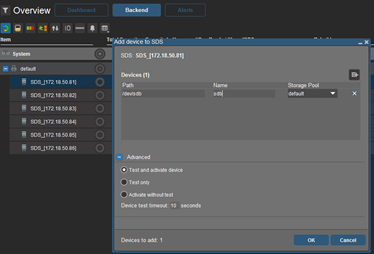
One of the few configuration options that we can do from the GUI is to add disks to individual SDS (path serve as the operating system sees ie for example. /dev /sdb). In my case, to each node added a single 200gb disk.
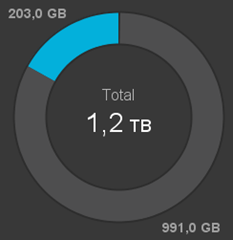
Six hard drives of 200GB gives 1,2T, however, we see that already at this stage 203GB have been allocated as a Spare (this value is given in percent (17%) and fully configurable from GUI and CMD). As you will see further, the available space is still less than the 991GB (RAID), but still higher than in the case of GlusterFS where we have so much space is on a single node.
Further configuration is performed with the CMD on main MDM (log in as the root user). By default, we have established “Protection Group (PG)” called default which includes all SDS (and this is ok, with such a small environment, we do not need more PG). As part of PG is founded default “Storage Pool (SP)” called default includes all available space (and so it is ok in small circles). From the GUI, we can change the name of PG (I changed to PULAB), simply right-click on the default and choose rename. The same can be done with SP, just in a GUI change the view (upper right corner) from “By SDS” to “By Storage Pools” (of course, both operations can be performed with the CMD, a full list of commands is included in the EMC ScaleIO User Guide. Next create a first volume within the SP. Before execute any commands, we need to log in as admin to MDM. we do this by command “scli -login -username admin” (this is a temporary session).
We create the first volume: scli –add_volume –protection_domain_name PULAB –storage_pool_name ScaleIO-Linux –size_gb 400 –volume_name SCIO-1
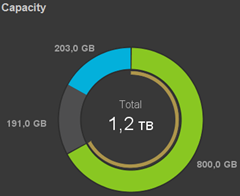
For the default parameters, create a volume with 400GB size took up 800GB of space:
Map volume to node: scli –map_volume_to_sdc –volume_name SCIO-1 –sdc_ip 172.18.50.82 –allow_multi_map
Flag “–allow_multi_map” is important, It allows to map volume was more than one node.
Command “/opt/emc/scaleio/sdc/bin/drv_cfg –rescan” refresh the devices on client.
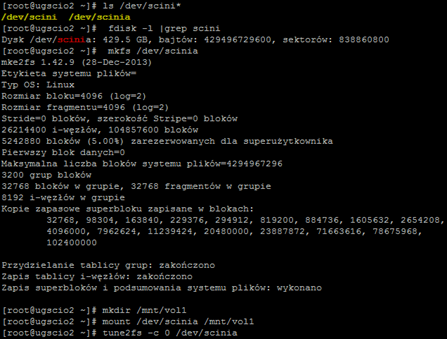
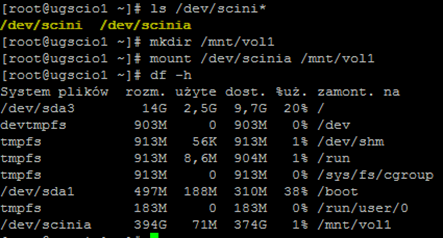
In the system volume is visible as a disk /dev/ sciniX which act as with any other disk on your Linux system.
We map the volume to the next node (we are still on MDM level):
On the mapped node mount disk:
We carry out a similar operation in all nodes. In the case of Linux all operations with ScaleIO we can fully automate by means of Vagrant and Puppet. In EMC ScaleIO installation archive is included full documentation explaining in detail all the issues. I encourage you to familiarize yourself with EMC ScaleIO.


