Virtualization provides all possible tools to support the launch of operating systems with special requirements. One of such requirements is to ensure possible security by using TPM and UEFI with Secure Boot. This type of system startup ensures that nothing has been tampered with in the boot loader. While it is easy to implement in a physical host, in solutions the Stack type requires a bit more work. How it is solved in VMware vSphere, already written here. Today we will test a very similar solution in CloudStack. However, note that existing VMs installed with the BIOS will not be usable, you will have to create a completely new UEFI reference VM.

At the moment, it is not possible to use physical TPM as vTPM in the VM as it is in vSphere. Both UEFI and TPM are emulated in the VM (in KVM). We will start with UEFI, CloudStack version 4.15 introduces the ability to boot VM from UEFI as an advanced setting, the BIOS is still used by default. The whole configuration is very simple, it requires the edk2-ovmf (or just OVMF) package to be installed on the host operating system. This package contains all the files needed to emulate UEFI in both legacy and secure modes. CloudStack integrates with this package by creating a file:
/etc/cloudstack/agent/uefi.properties (the paths must be adjusted depending on the package on your OS) :
CentOS 8:
guest.nvram.template.secure=/usr/share/edk2/ovmf/OVMF_VARS.secboot.fd
guest.nvram.template.legacy=/usr/share/edk2/ovmf/OVMF_VARS.fd
guest.loader.secure=/usr/share/edk2/ovmf/OVMF_CODE.secboot.fd
guest.nvram.path=/var/lib/libvirt/qemu/nvram/
guest.loader.legacy=/usr/share/edk2/ovmf/OVMF_CODE.secboot.fd
CentOS 7:
guest.nvram.template.secure=/usr/share/edk2.git/ovmf-x64/OVMF_VARS-with-csm.fd
guest.nvram.template.legacy=/usr/share/edk2.git/ovmf-x64/OVMF_VARS-pure-efi.fd
guest.loader.secure=/usr/share/edk2.git/ovmf-x64/OVMF_CODE-with-csm.fd
guest.loader.legacy=/usr/share/edk2.git/ovmf-x64/OVMF_CODE-pure-efi.fd
guest.nvram.path=/var/lib/libvirt/qemu/nvram/
Enabling requires restarting the cloudstack-agent (no need to restart libvirt or change qemu.conf configuration), the host itself must be additionally marked in the DB CloudStack that it supports UEFI. This is not a problem for new installations, for older ones after migration, this flag should be set manually in the DB (at the moment). Without it, we will immediately meet the following message: Cannot deploy to specified host as host doesn’t support uefi vm deployment, returning.
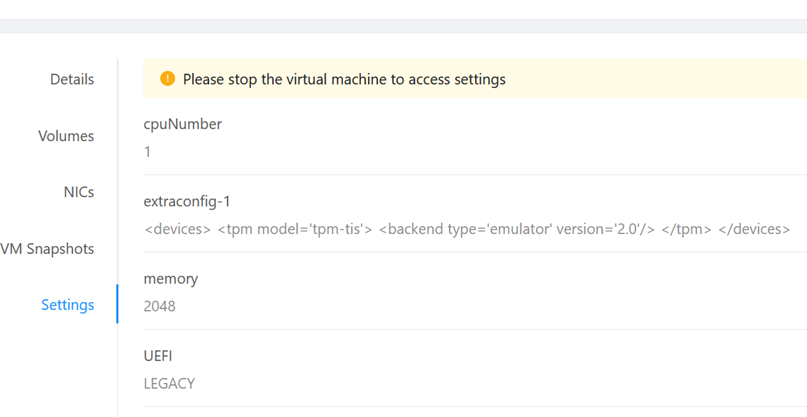
In order to run vTPM, the swtpm swtpm-tools package must be installed on the host operating system. It does not require any additional configuration, we add TPM to the VM exactly as we did for the GPU, through the XML configuration added as ExtraConfig. The device definition looks like this:
<devices>
<tpm model=’tpm-tis’>
<backend type=’emulator’ version=’2.0’/>
</tpm>
</devices>
We create a new VM as standard, set UEFI / Secure in advanced options, we do not start the machines (nice option added in 4.15.1):
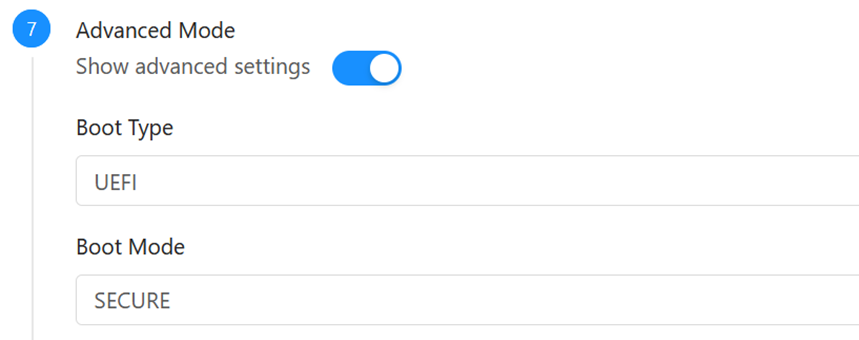
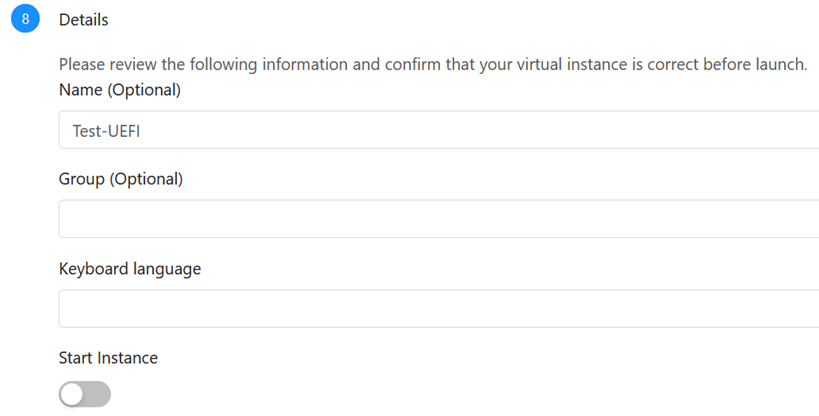
Add the vTPM in virtual machine settings as extraconfig (and only then we start and install the OS):
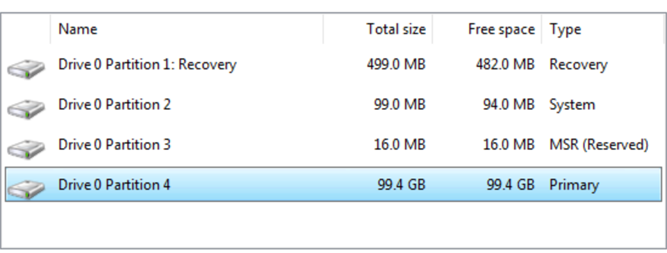
 Below is a screenshot showing that UEFI has been correctly recognized by Windows Installer:
 We can also check if nvram files are being created:
 The final result looks like this:
Finally, as a bonus, how to add USB devices to the KVM/VM (CloudStack)? The answer is as simple, as any other once you’ve identified it. In the example below, I’ll add a USB <—> Serial cable to my administrative VM. We are looking for the device with the command lsusb –v:
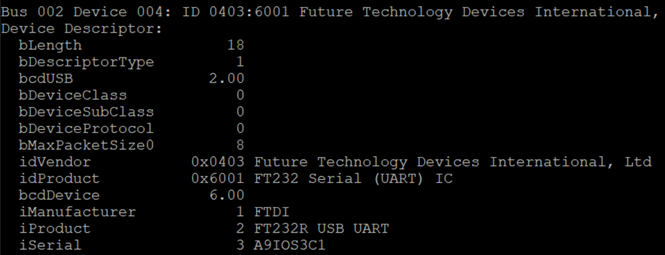
Then prepare the XML file and add it to the VM as extraconfig:
<devices>
<hostdev mode=’subsystem’ type=’usb’ managed=’yes’>
<source>
<vendor id=’0x0403’/>
<product id=’0x6001’/>
</source>
</hostdev>
</device>
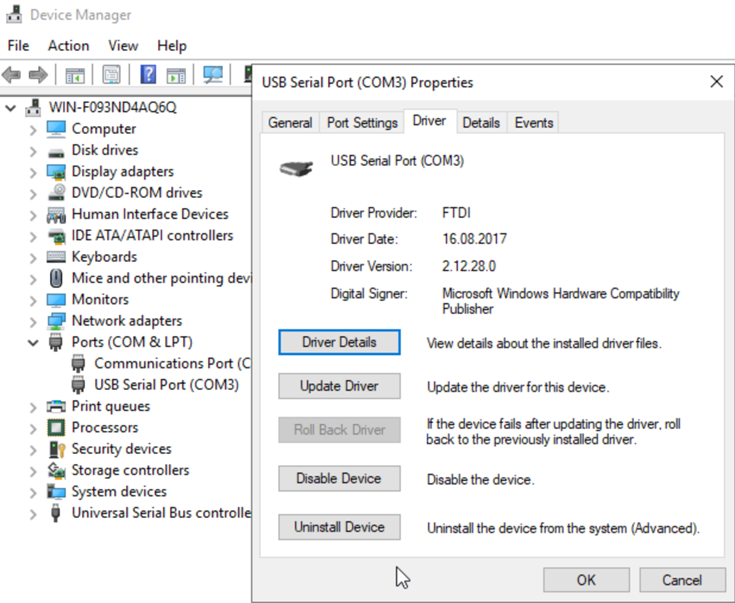
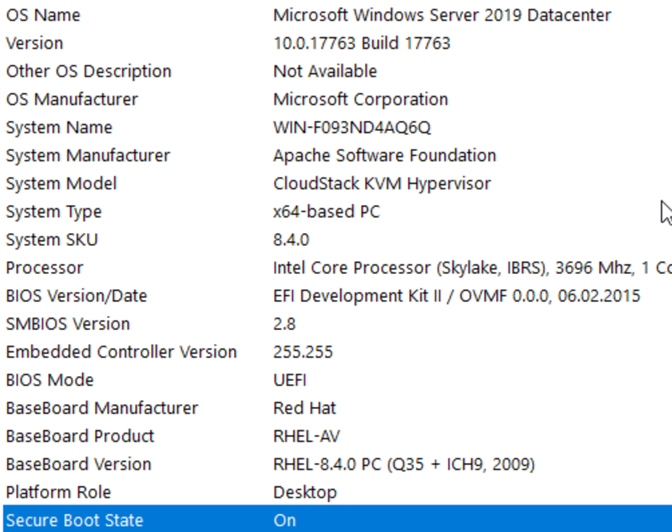
We start the VM and check the result, in this case the USB <—> Serial cables are added as a virtual COM3 port:


One Comment
Leave a reply →