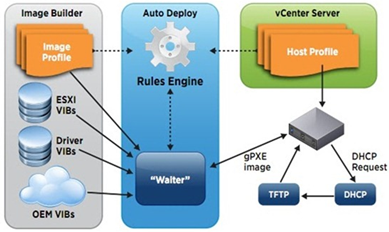
When you have at home lab at least two ESXi hosts, you should be tempted to configure and launch vSphere Auto Deploy service. Thanks to it we will not have to run ESXi from internal drives or memory sticks. The requirement of two hosts came from the fact that we always need to have an active vCenter Server (but if you run the vCenter instance within the Qnap NAS in the Virtual Station we can limit to one ESXi host). This technology can also be used to run nested ESXi inside a single host. In this post I will discuss the preparation of a custom ESXi image (for the White Box server), configure vCenter Server Appliance 6 and Synology NAS for Auto Deploy and prepare hosts profiles for the ESXi.
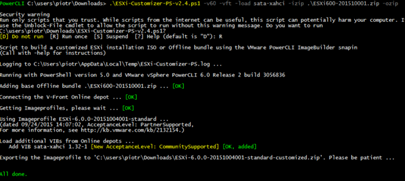
We’ll start with the server, which is typical White Box (aka self mande). In my case, they are two machines based on AMD K8, 32GB ram and several internal drives needed for various tests. The whole is also hooked on Synology NAS by iSCSI. At present, due to the removal part of the drivers from VMware ESXi 6, on such configuration we does not install “standard” ESXi, we need to make custom image with new drivers. The procedure is simple, download the latest installation package (ESXi 6 Offline Bundle) and ESXi-Customizer. With a single command we prepare the appropriate image (I this example I online add SATA driver from v-Front).
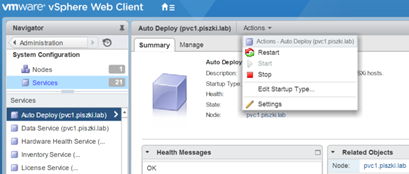
Important information, profile name inside the image is the same as the file name: ESXi-6.0.0-20151004001-standard-customized. The great advantage of preparing your own images is that we can include any driver (VIB) that we need. If we want for example to test VMware NSX, we must be prepared for a minimum of two-restart each ESXi during the installation of appropriate components. And in the case of Auto Deploy, previously prepared ESXi stands with pre-loaded all the drivers. Now go into vCenter, the configuration of Auto Deploy is done in the “Administration-> System Configuration-> Services—>Auto Deploy”.
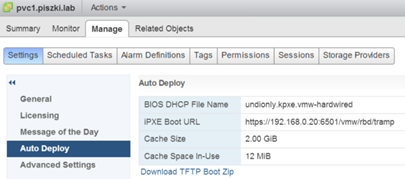
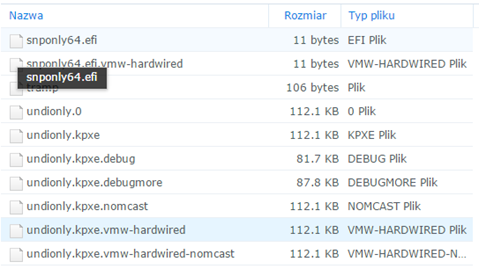
Go to the section “vCenter-> Settings->Auto Deploy” and download the file “TFTP Boot Zip”.
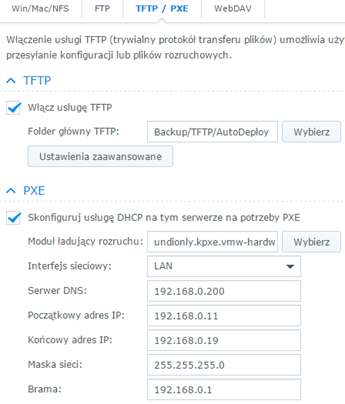
The downloaded TFTP boot file decompress in to a directory on the Synology (in my case it is /Backup/TFTP/AutoDeploy). Log in to the Synology DSM, run “Control Panel” and in the section “File Service-> TFTP/PXE” configure the TFTP server settings. In my vSphere environment is not configured DHCP server based on Windows. I am using the built-in DHCP server on Synology to send out information about the available TFTP server in the network and the corresponding addressing.
Let us remember that in this case on the DNS server must be prepared records for ESXi hosts. Select the boot loader module: undionly.kpxe.vmw-hardwired.
Of course, we can use a combination, TFTP server run on Synology and DHCP on a Windows server. At this stage we can go back to vCenter and load into Auto Deploy service pre-prepared custom ESXi 6 offline bundle. We will need workstation with Windows and installed vSphere PowerCli 6. Connect to the vCenter and with the command Add-EsxSoftwareDepot add the previously prepared image as packages source.
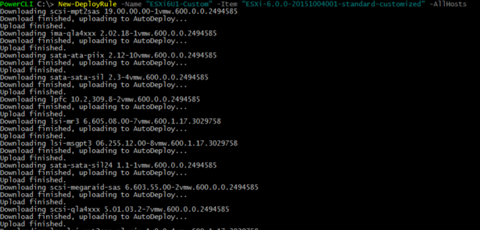
Then, using the New-DeployRule load the ESXi image to the Auto Deploy service repository.
Using the command Add-DeployRule activate our first rule.
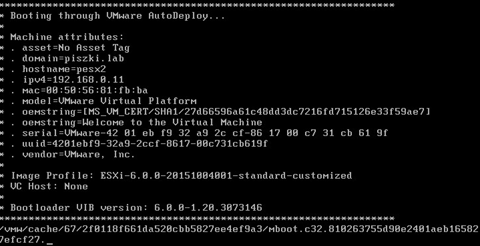
At this stage this is end when it comes to the configuration of the Auto Deploy, run the host and observe the process of image loading and ESXi booting.
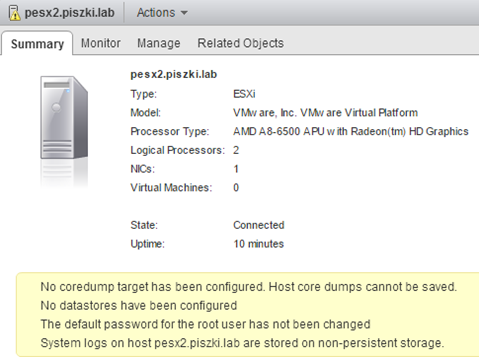
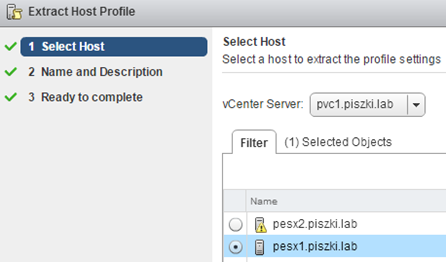
As you can see in the last picture, launched ESXi requires a lot of configuration (which is lost when it is turned off). Therefore, in conjunction with the Auto Deploy we must use hosts profiles that contain a lot of preconfigured settings. At first we prepare a profile based on the settings of an existing host. In the “Policies and Profiles-> Host Profiles” create a new profile.
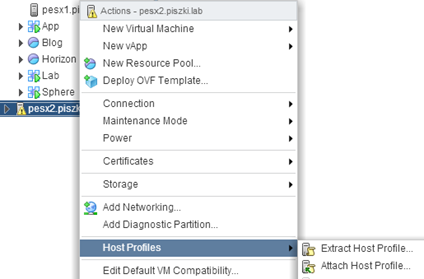
In vSphere 6 happened a lot of changes when it comes to hosts profiless, there is no answer file. At the moment part of the changes we introduce already at the assign stage (attach host profile).
We need to give the key parameters, such as iSCSI IQN that must be unique for each host.
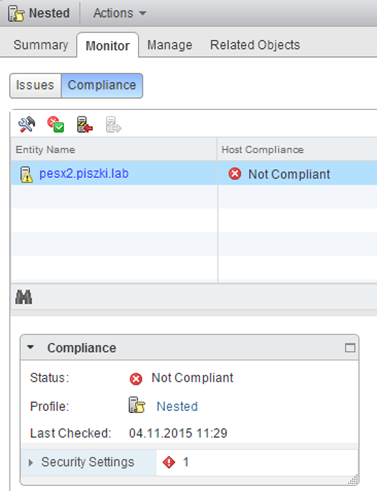
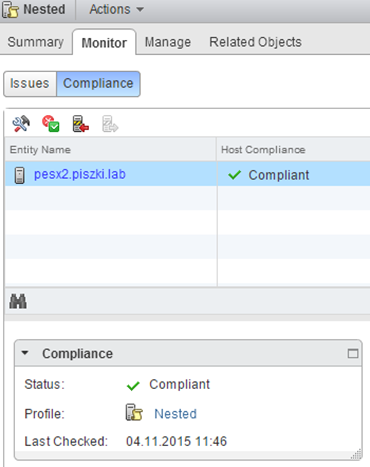
After connecting profile check to see if all the settings are correct (check Compliance).
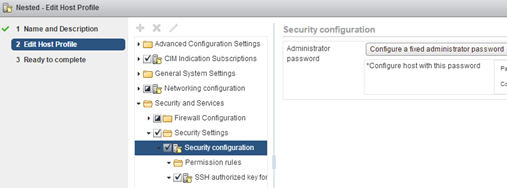
The principle of profiling is that the more different hosts, the more profile must be universal. The more similar to each other, the more profile may be specific. The changes introduce by editing the profile, you might want to change such settings responsible for the root password.
After making changes in the profile click on “Remediate” and making changes at the host level.
Run the “Check Compliance”, ESXi is configured correctly with the profile.
The first prepare a profile may take some time, options to control and configure it is really a lot (but do not be discouraged). vSphere Auto Deploy in conjunction with the hosts profiles excels as the management of extensive environments as well as in the home laboratory. I encourage you to check this service.


