One of the many novelties that appeared in vSphere 6.0 is a Virtual Volumes (VVols). In a nutshell, this is a service aimed at handling disk operations such as snapshot of a single virtual machine and move them upstairs, at the level of the disk array (VMDK file is the native storage format). This allows us to virtualize critical, highly loaded database and back up it freely without affecting its performance (we all know what it looks like in the case of a traditional snapshot and delta file). Detail on VVols I wrote in the second part based on the shown examples. In this section we will install EMC vVNX Vvol Technical Preview which is the currently one solution allows you to check how it all works (in addition free).
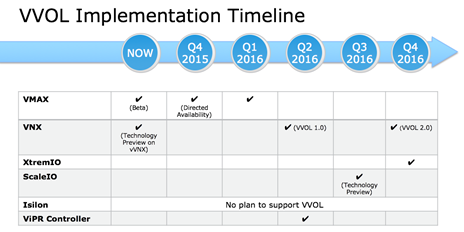
Adaptation of most storage brands to new technology invented by VMware will last until the year 2016. Its implementation probably even more, today thanks to vVNX we can start to test it. Tech Prewiew in the name means that even here we do not have its full implementation. EMC vVNX is nothing like a software version of the EMC VNXe arrays. It is available for free, its license allows you to handle 4T space. Installation is not complicated but requires that several critical conditions. EMC vVNX is delivered as a virtual appliance (OVA) and must be running on ESXi 6 (can be U1), ESXi does not have to be managed by vCenter. The server must have a Xeon processor that supports SSE 4.2 and have a minimum of 16GB of RAM. When you add disks to vVNX add them as VMDK, to test so you do not need physical disks (vVNX can run on an existing storage or internal disks).
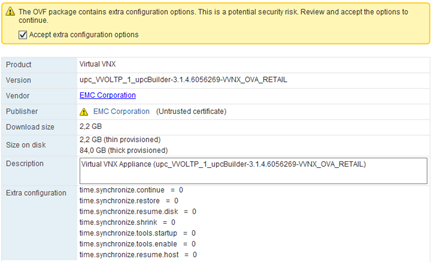
We start the installation. Uploading the appliance should be operated from the vSphere Web Client (on installation time ESXi must be added to vCenter) due to several specific parameters that will be set.
Only from the vSphere Web Client can be configured management IP (after installing using #Client waiting for us picking the vVNX console).
Run vVNX and wait about 1 hour. Observing the console, we get the impression that the installation at some point hangs, it is not, the following screen indicates that the installation is finished
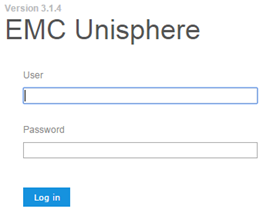
From the web browser enter the address https://vvnx and you should see the login screen (username is admin and the password is Password123#).
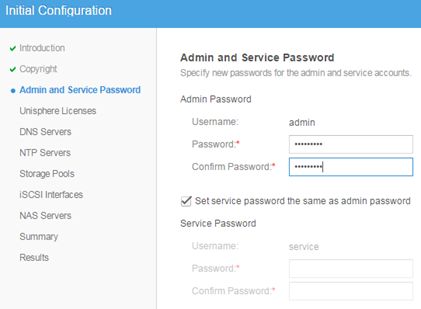
After logging starts immediately initial configuration wizard, we start by setting administrative passwords.
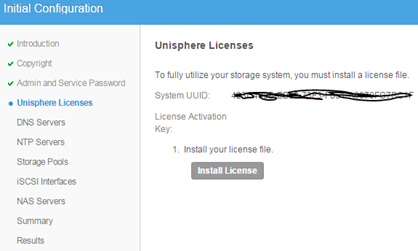
Installation License carry out in two steps, first we copy the UUID of our vVNX.
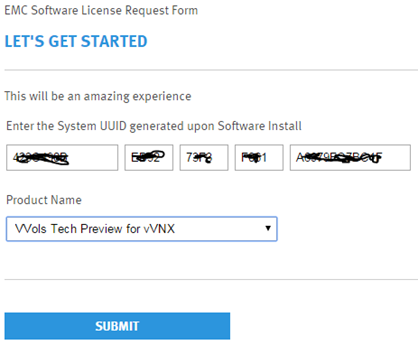
Then we move on to the portal in which we generate your license file giving the UUID. File extension faces downloaded to vVNX (Install License).
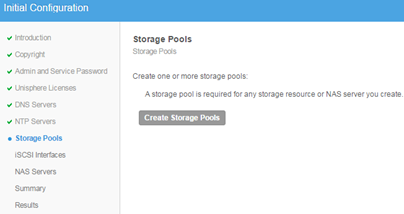
At this stage we do not create any storage pool (Note: new disks can not be added before the first start vVNX).
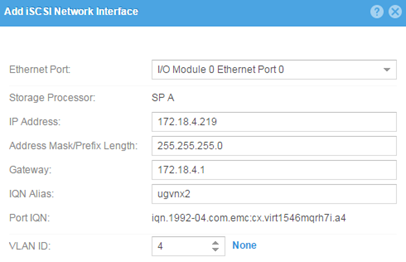
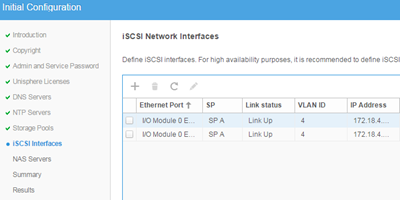
EMC vVNX is a Block/File storage, the data block is made available via the iSCSI protocol (not licensed in Tech Preview). At this stage we configure two network interfaces.
Of course, we can configure only one or skip this step and configure these settings later. We will not use iSCSI, but we need to configure at least one interface (now or later).
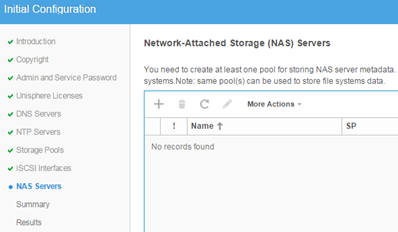
This step also omitted.
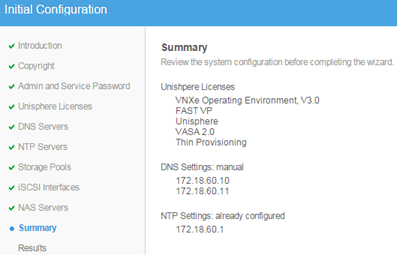
The initial setup is complete, as you can see a set of licenses is very powerful in the free version (Tech Prewiew does not support deduplication). License FAST VP allows the use of drives with different speeds and automatic building a multi-level tiers.
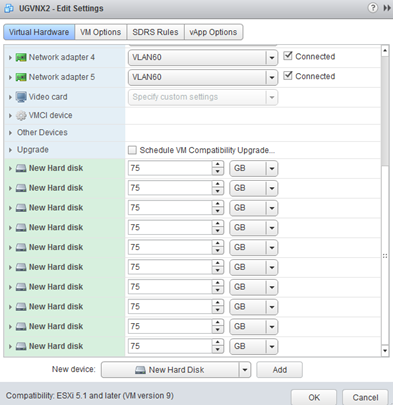
We now move to the virtual machine settings and add disks. I added ten 75GB Thin disks (this is only test).
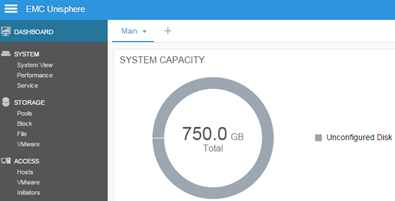
You do not need to reboot the machine, in vVNX interface we see that the disks were added properly.
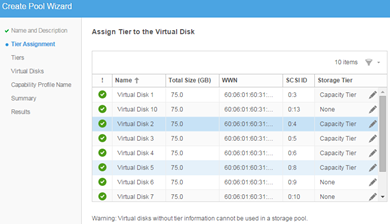
Under Storage-> Pools we can immediately create the first pool. From the list, select the drives that interest us (edit Storage Tier of individual disks).
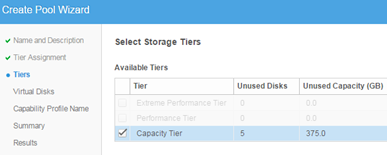
Select tiers that we are interested, here is visible only Capacity tier.
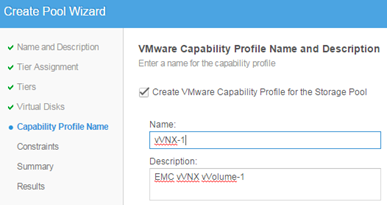
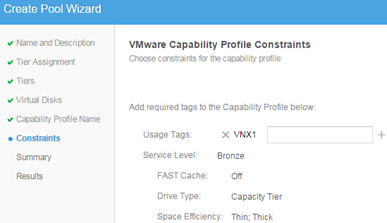
Here we have the first-related settings directly from VVols. We choose a name for the Capability Profile describing our pool.
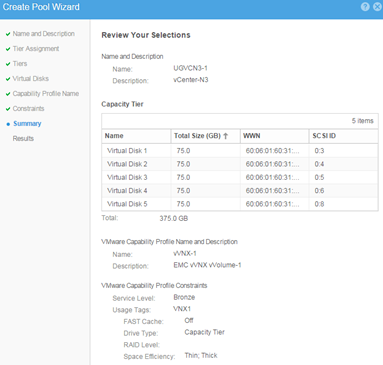
In Capability Profile is added automatically all service types that are supported by a pool (according to VMware VASA). A novelty in relation to what we know with storage profiles is a parameter Service Level (capacity = Bronze).
The whole looks like.
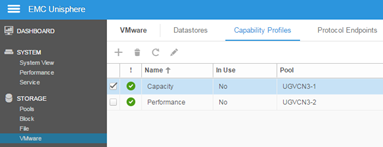
As I mentioned above, I created two pool and profiles for different purposes.
In the last step, we add in the ACCESS our vCenter and ESXi. vVNX is very sensitive to “duplicated” IP address. Trend Micro Deep Security required on each host VMkernel vmservice-vmknic-pg (with address 169.254.1.1) to proper run. If we have DSM we need to add ESXi individually and on configuration of each host set to “ignore” interface vmknic-pg.
In the next post will complete the configuration of the vVNX, connect it into vCenter and prepare the first Vvol Datastore.






5 Comments
Leave a reply →